Restoring Photos For Apple from the file system.
This guide explains how to export a day’s schedule, including photos. The screenshots in this guide are from an iPad; there may be some differences on an iPhone.
Instructions:
-
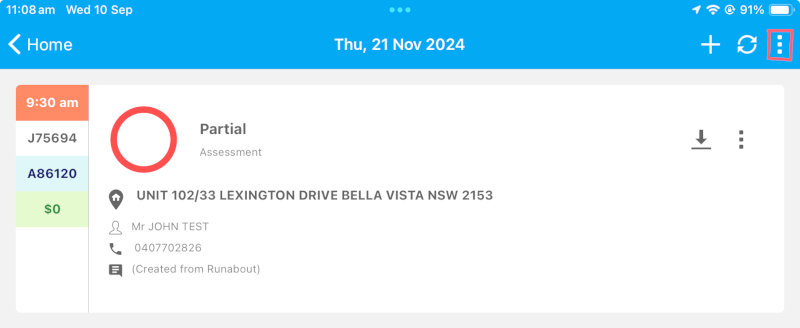
Open the day’s schedule and tap the menu button in the top right corner, as shown below.
-
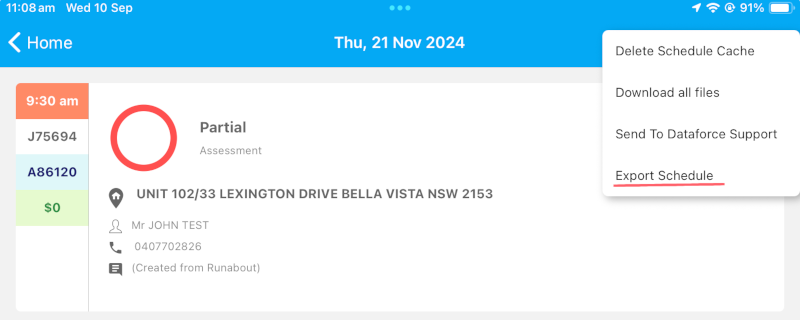
Tap Export Schedule from the menu to begin
-
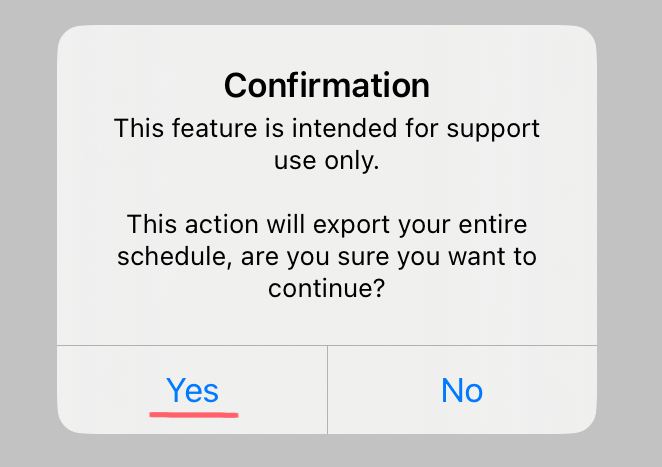
When the Confirmation Dialog appears, tap Yes to continue.
-
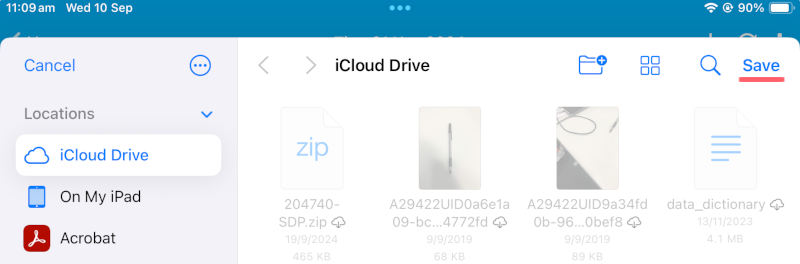
Runabout will generate a Zip file with the data. You will need to choose where to save this file, we recommend using Save to Files option shown below.

-
If you used ‘Save to Files’ you need to confirm the location to finished tap the Save button.
-
Open your preferred FILES app and navigate to the exported schedule, which should appear as shown below.

-
Unzip the file. If you are using the Apple Files app, tap the zip file to create a folder with the same name, as shown in the example below.

-
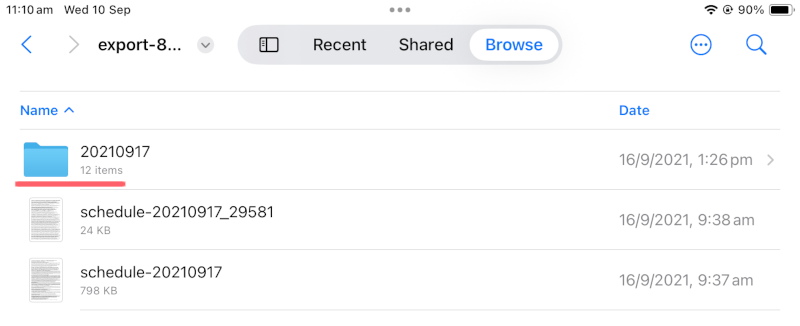
Tap the folder to open it and view its contents, as shown in the example below, the photos are stored in a folder named after the schedule date. For example, a schedule exported on 17th September 2021 is in the folder named 20210917. Tap this folder to view the photos.
-
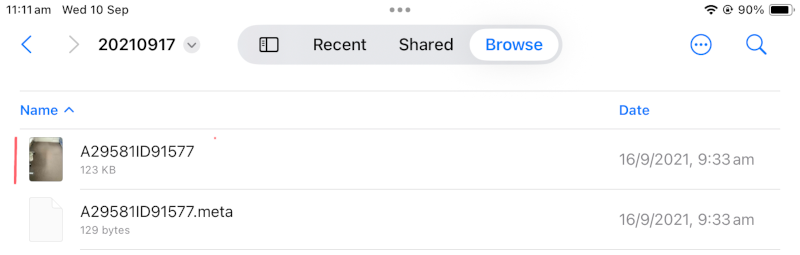
Each photo includes accompanying metadata, which you can ignore.
-
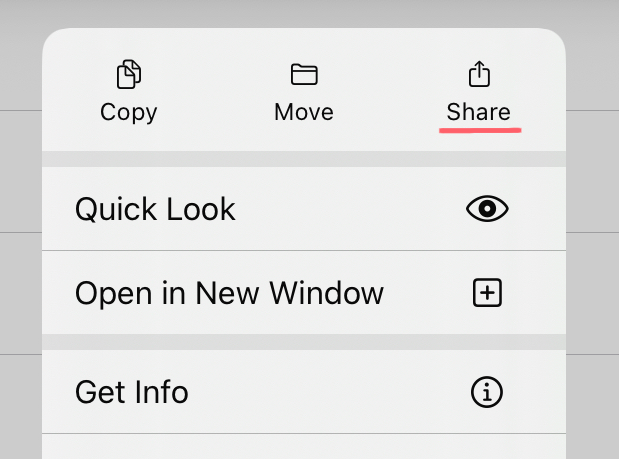
To use a photo in Runabout, save the image by long-pressing it to open the context menu, then select the Share option shown below.
-
Tap Save Image to add it to your local photo album (You can repeat this in bulk using the multi-selector).

-
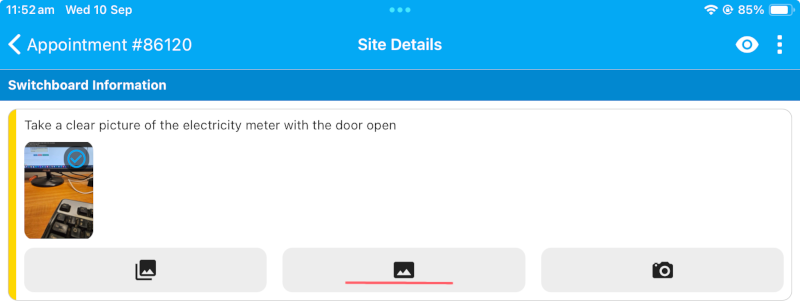
Open Runabout, navigate to Photo Question, and tap the Gallery button.
-
Select the photo you saved earlier.
