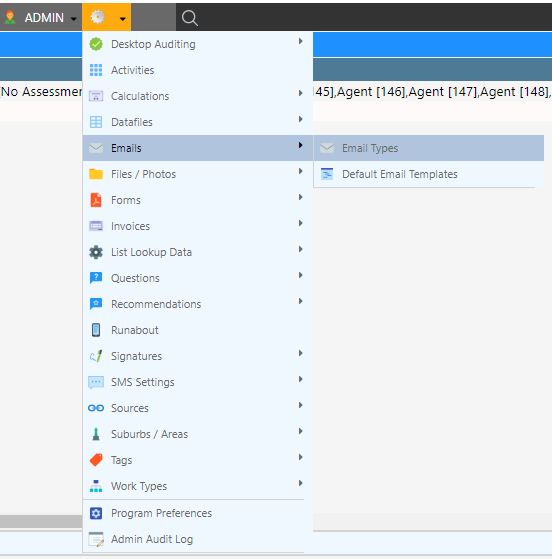
Creating an Email Type
-
Navigate to (Configuration icon) Emails Default Email Templates
-
Enter the email type details into the fields; see below for descriptions
-
Select Add Email Type
Property Descriptions
Important: The sender email will need to be authenticated before use. This can be achieved by following the link in the authentication email.
| Property | Description |
|---|---|
| Description | The name of the email type in Dataforce ASAP |
| Email Template | The template that will be used for this email type |
| Sender Email | The email address that will act as the sender If this field is red the email has not yet been verified |
| Sender Name | The name of the sender |
| Email Subject | The subject of the email, can include: • {job_id} - The job ID • {app_id} - The appointment ID For example: Customer Quote {job_id} |
| Recipient Email | A fixed email address; emails will be sent to this address instead of the customer address |
| Recipient Type | The type of recipient |
| Attach Forms | Forms to be attached to an email; see attaching a form |
| Disabled | A form of soft deletion which removes emails from future use |
| Email Type | A category for the email type |
| Work Type(s) | Work types that will utilise the email type; a form’s work type must match this |
| Question Answer(s) | Question answers that will enable the email to be sent |
| Restrict to Client | Clients who will utilise the email type |
| Agent Filter | Agents who will utilise the email type |
| Activities | Activities that require the email type |
| Disable Default Email | Do not use system-wide default email if no customer email is available |
| CC FieldWorker | Send a copy of the email to the field worker |
| CC to | Send a copy of the email to this address |
| Send On | The event that will trigger the email to be sent |
| Include Partially Completed Appointments | An option to link forms to assigned appointments Normally a form is linked once its appointment is completed |
| Attach Product Brochures | Attach relevant brochures |


