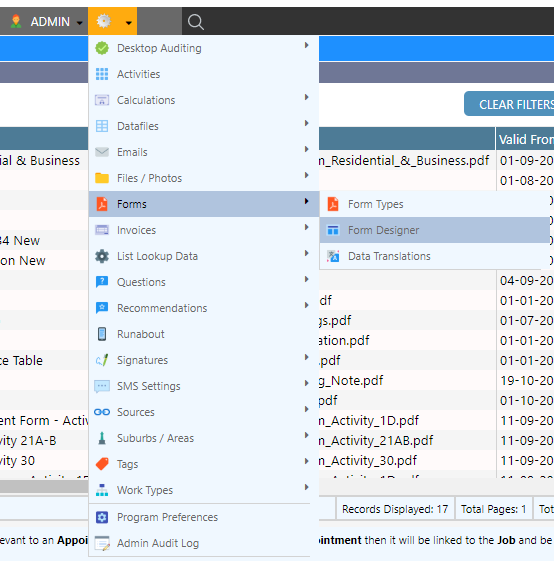
Selecting a Form
Creating a Field
There are a number of ways to add data to a form:
-
Dynamic Mapping - Mapping is a way of importing information from a job into a form. i.e. Instead of manually entering information, Dataforce ASAP will retrieve the information from the job and insert it as the form is created. For example, the customer’s name or a datafile’s signature can be mapped onto a form through specific fields.
-
Fixed Value Mapping - This method is a way of writing fixed data onto a form, meaning the information will remain the same regardless of the job. Fixed values can be useful for things like forcing checkboxes to be selected.
Tool Icon Description 
Text
The text tool creates a field that displays plain text. This plain text can be dynamic or fixed.
Image
The image tool creates a frame for an image. The image must be dynamic
Signature
The signature tool creates a frame for a signature. The signature must be dynamic
Shape
(Shapes can be generated dynamically or manually set i.e. fixed)
The shape tool can insert the following shapes into the form as required:
• Ellipse
• Tick
• Cross
• Yes (Word)
• No (Word)
• Y (Letter)
• No (Letter)
Moving, Resizing & Copying Fields
| Tool Icon | Description |
|---|---|
 |
Select The select tool should be used when moving or resizing fields. Multiple fields can be selected with this tool by clicking and dragging over one corner of each field required. |
 |
Position The position tool displays the position of the cursor when clicked in a pop-up window. |
To resize a field, select it and:
- Hover the mouse over an edge and drag, or
- Hold SHIFT + use the arrow keys (SHIFT + UP = Shorter, SHIFT + DOWN = Taller, SHIFT + RIGHT = Wider, SHIFT + LEFT = Thinner), or
- Right click on the field, hover over ‘SET HEIGHT’ or ‘SET WIDTH’ and select an option
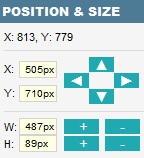
- Manually enter dimensions in the position and size panel, or
-
Resize multiple fields by dragging over a corner of each required field with the select tool and repeat option 2 or 3
To move a field, select it and:
- Drag with the mouse, or
- Use the arrow keys, or
- Manually enter position in the position and size panel, or
- Move it to another page by right clicking, hovering over ‘Move to’ and selecting the necessary page, or
- Stack multiple fields relative to one another by dragging over a corner of each required field with the select tool, right clicking and selecting ‘Stack vertically’ or ‘Stack horizontally’
- Move multiple fields by dragging over a corner of each required field with the select tool and repeat options 1, 2 or 4
To copy a field, select it and:
- Press CTRL + V, or
- Copy it to another page by right clicking, hovering over ‘Copy to’ and selecting the necessary page, or
- Select multiple fields by dragging over a corner of each required field with the select tool and repeating options 1 or 2
To copy properties from one field to another:
- Enter the property required in highest field in the block of fields
- Highlight all fields the block
- Right click and select ‘Copy Properties’
Deleting a field
- To delete a field, select it and:
- Press the DELETE key
- Right click and select ‘Delete’
Sequencing Fields
-
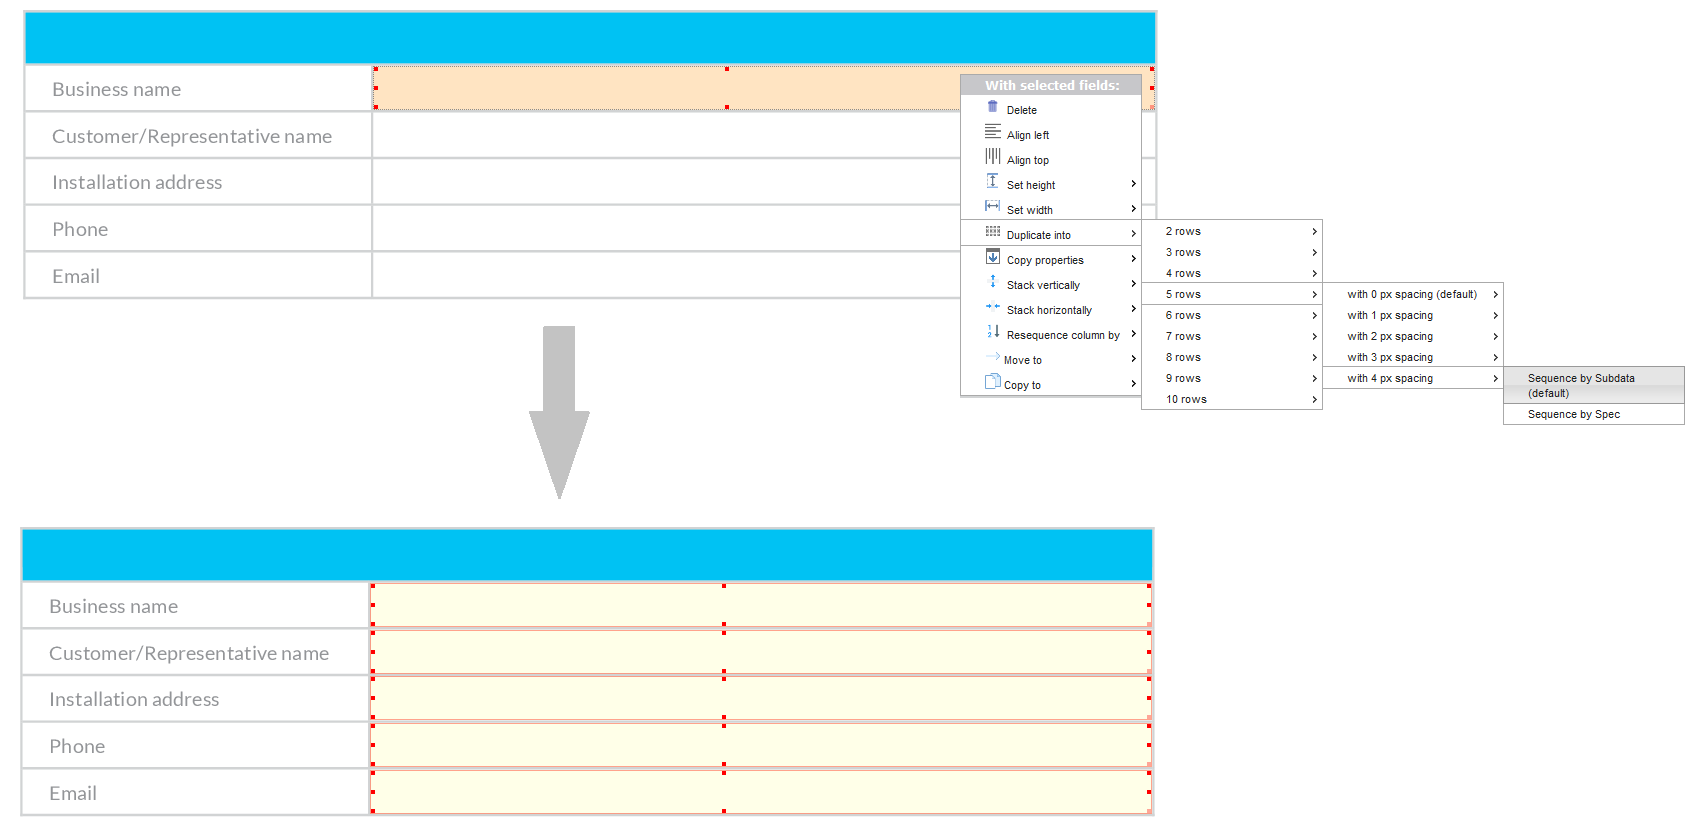
It is common to have a number of fields on top of one another that require similar data. The form designer has a number of handy features to create these field blocks, either:
- Create a field with the correct sub data in the highest available space
- Select the field, right click and hover over ‘Duplicate into’
- Either click or hover over the amount of rows necessary (clicking will space the fields 0 px apart)
- Either click or hover over the spacing necessary (clicking will sequence by sub-data)
- Click on the necessary sequencing
-
OR
- Create fields to cover all necessary spaces
- Select all fields
- Right click and hover over ‘Resequence column by’
- Hover over ‘Subdata’ or ‘Spec’
- Select ‘Groups of’ 1 or 2
Formatting a Text Field
Mapping Data
For instance, if an assessment form’s field contains an answer from an installation question, the field will appear blank when generated as information is not shared between work types.
Text Fields
-
To enter data into a text field, select it and modify the following options:
Tip: When using ‘if value’, ensure you have selected the correct operator. [Numbers] or [String] - (words)Property Description Data Provider Where the information will come from
Typically: customer, appointment, Field Worker, question answer, etc.Sub Data Information from the provider
Typically: date, name, question, product, etc.Spec Specific information from the sub-data
Typically: date format, postcode, surname, street name, etc.Fixed Value A fixed value
If not empty, this field will only display this valueIf Value An operator for comparing the field value
If field value (equals/does not equal/is less than/etc.) this, then replace with thisCompare What to compare the field value with
If field value (equals/does not equal/is less than/etc.) this, then replace with thisReplace With What will replace the field value if the comparison is true
If field value (equals/does not equal/is less than/etc.) this, then replace with this
Images
-
To enter data into an image frame, select it and modify the following options:
Tip: Use the signature frame if you want to display a signatureProperty Description Data Field Type of image to be inserted
Typically: Agent logo, Field Worker logo etc.Sub Field Category of image type Specification Specific information from the image category
Signatures
-
To enter data into a signature frame, select it and modify the following options:
Property Description Data Field Type of image to be inserted
Typically: signaturesSub Field Category of signature
Typically: Field Worker, customer etc.Specification Specific information from the signature category
Shapes
-
To enter data into a shape, select it and modify the following options:
Note: Shapes do not behave as other fields do. Shapes cannot display information, rather, they appear or disappear based on certain criteria. This makes them helpful for ticking boxes or circling information. Whether they display or not is typically determined by a comparison as described in the table below.
To constantly show a shape, set default and value to ‘1’ and change the condition to ‘[Number] Equals’Property Description Type The type of shape to be displayed
If value (equals/does not equal/is less than/etc.) this, then display thisData Field Where the comparison value will come from
If value (equals/does not equal/is less than/etc.) this, then display thisSub Field The comparison value
If value (equals/does not equal/is less than/etc.) this, then display thisSpecification The comparison value specified further (i.e. surname, postcode, etc.)
If value (equals/does not equal/is less than/etc.) this, then display thisDefault The default value
A fixed value to replace the data fieldCondition An operator for comparing the comparison value
If value (equals/does not equal/is less than/etc.) this, then display thisValue The value to be compared against
If value (equals/does not equal/is less than/etc.) this, then display this
Previewing a Form
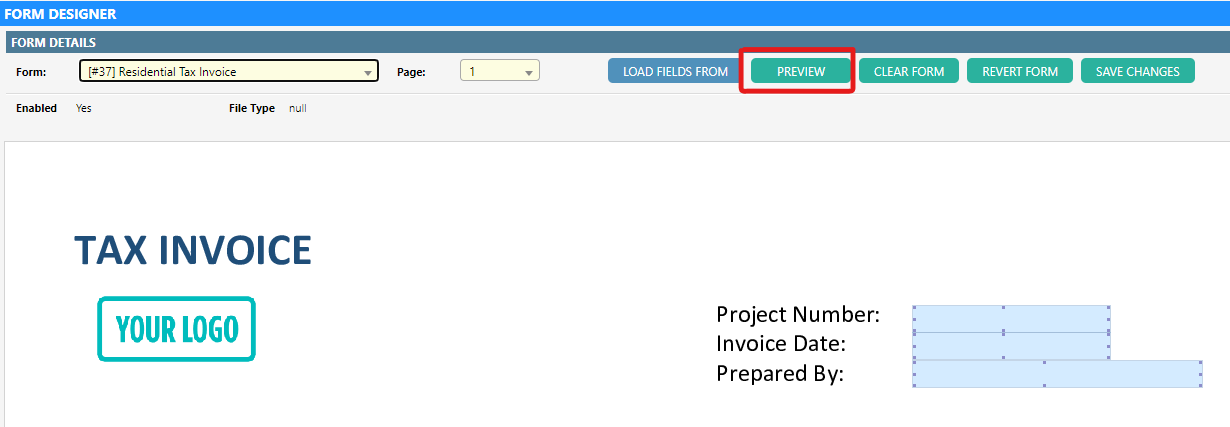
- Within the form designer, click on the Preview button
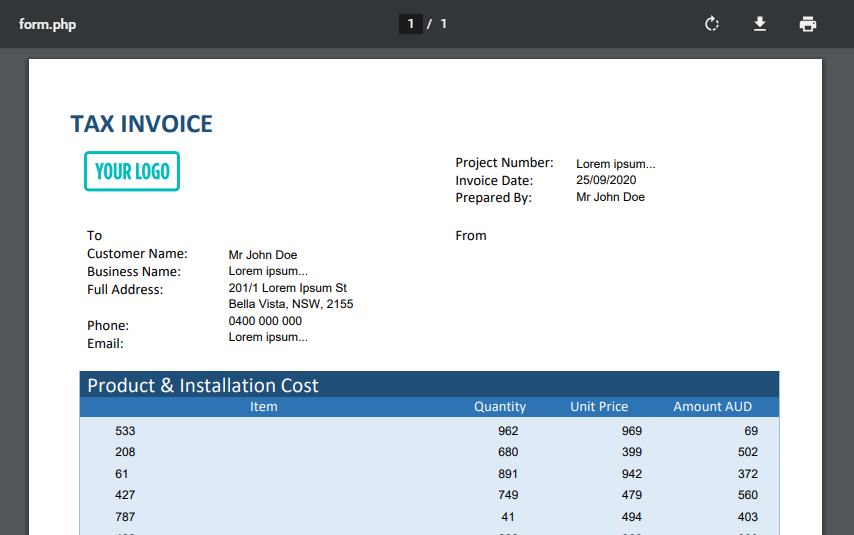
- A new window with the form will be opened, and in the mapped fields, there will be filler text so the form can be appropriately previewed
