Tip: To map information to a form, follow the flow chart above.
For more information, read the steps below or click on a step in the flow chart to see detailed information on each process
For more information, read the steps below or click on a step in the flow chart to see detailed information on each process
Mapping
Important: These steps assume you have created a form type
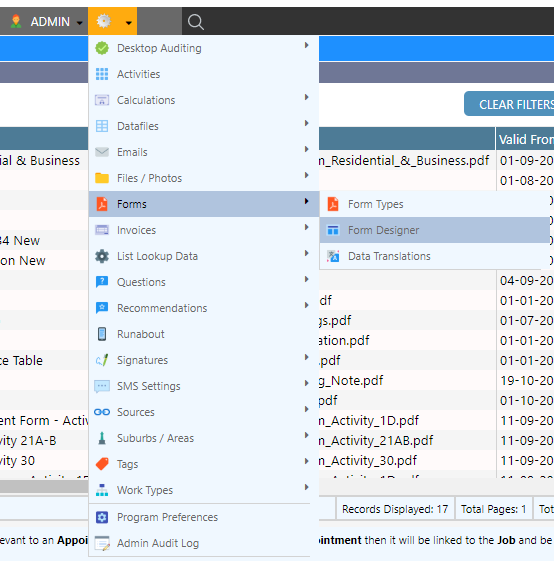
- Open the Form Designer

- Open the form type within the Form Designer

- Add fields to all spaces that require information

- Map data to each field.
Please click on each respective link to learn how create a field, how to move, resize and copy fields, or how to map data

- Save and Preview the form

Previewing a Form
Once a form has been mapped there are two ways to preview the form and view data in the fields:
- With dummy data (this may not show all fields but is faster)
- With real appointment data
Dummy Data
Appointment Data
- Select a job that will utilise the form
-
Select FILES
-
Select Download on the form you wish to preview
Note: This is an exact preview of the form as the client would view it
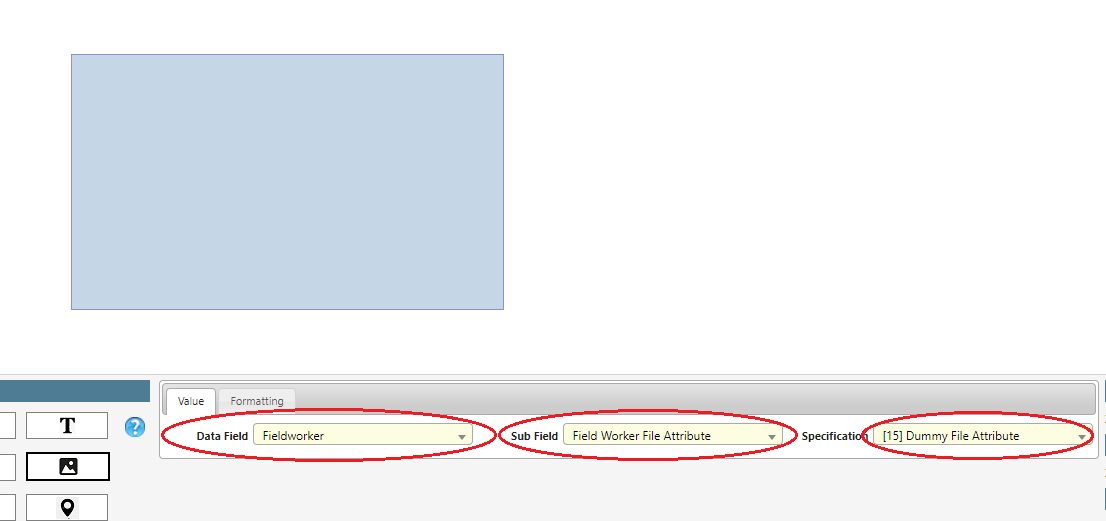
Mapping a datafile file
Starting from version 12.5, Dataforce ASAP allows datafile files to be mapped into forms.
This section will give a step by step guide to help you getting started on mapping the file.
- Open the Form Designer

- Open the form type within the form designer

- You need to make sure you have the following populated into the properties:


