Overview
Sales Pipelines serve as a robust tool for overseeing the journey of your sales leads, spanning from initial contact to the culmination of a successful sale.
Customization is key, as you can establish distinct Sales Pipelines tailored to various customer types or specific activities.
Delve further into organization by defining unique ‘Stages’ within each Sales Pipeline, providing a systematic way to monitor the progression of leads.
These Stages can be personalized with a designated name and color. Moreover, you have the flexibility to arrange the order in which these Stages unfold within a Pipeline.
Creating Sales Pipelines
-
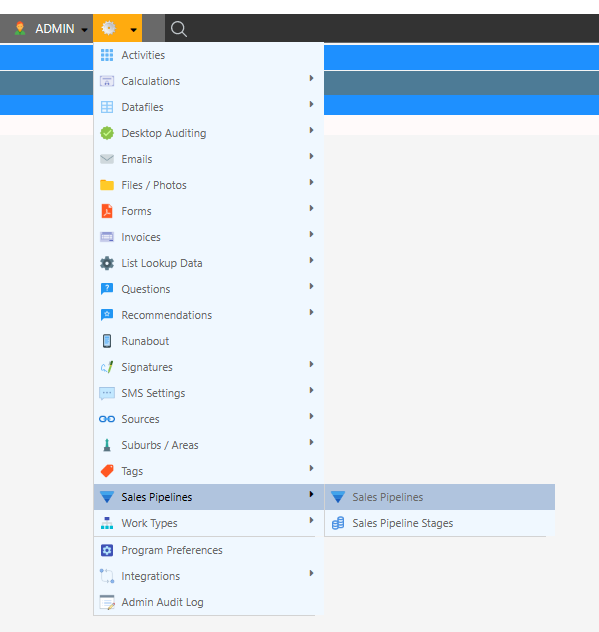
Navigate to the ‘Sales Pipelines’ screen through (Configuration icon) Sales Pipelines Sales Pipelines
-
Input the name of the new Sales Pipeline. Then select Add Sales Pipeline.

Updating Sales Pipelines
To Update a Sales Pipeline; make the necessary changes, then select Update Sales Pipeline.

Creating Sales Pipeline Stages
-
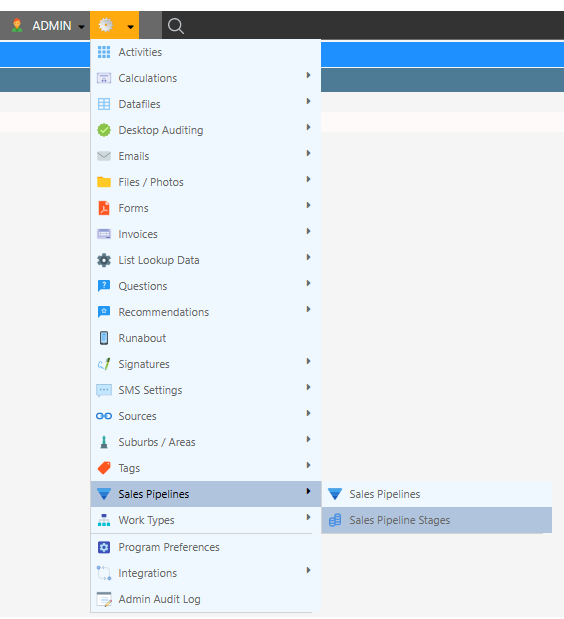
Navigate to the ‘Sales Pipeline’ screen through (Configuration icon) Sales Pipelines Sales Pipeline Stages
-
To create a Sales Pipeline Stage: Fill in each field and select Add Sales Pipeline Stages.

The following table describes the available fields:
Field Description Sort Order Sort the sales pipeline stages in ascending order Colour Colour for the sales pipeline Stage Sales Pipeline Select which sales pipeline is related to this stage Trigger Appointment Creation Trigger the creation of an appointment when a lead lands on this pipeline stage Stage Name The name of the sales pipeline stages Tip: The Sort Order field in a Sales Pipeline will determine the order in which the stage appears in the Sales Pipeline
Sales Pipeline Stage Filters
The Sales Pipeline name can be filtered by as seen below:
Updating Sales Pipeline Stages
To update a Sales Pipeline Stage:
- Make the necessary changes
- Select Update Sales Pipeline Stages.

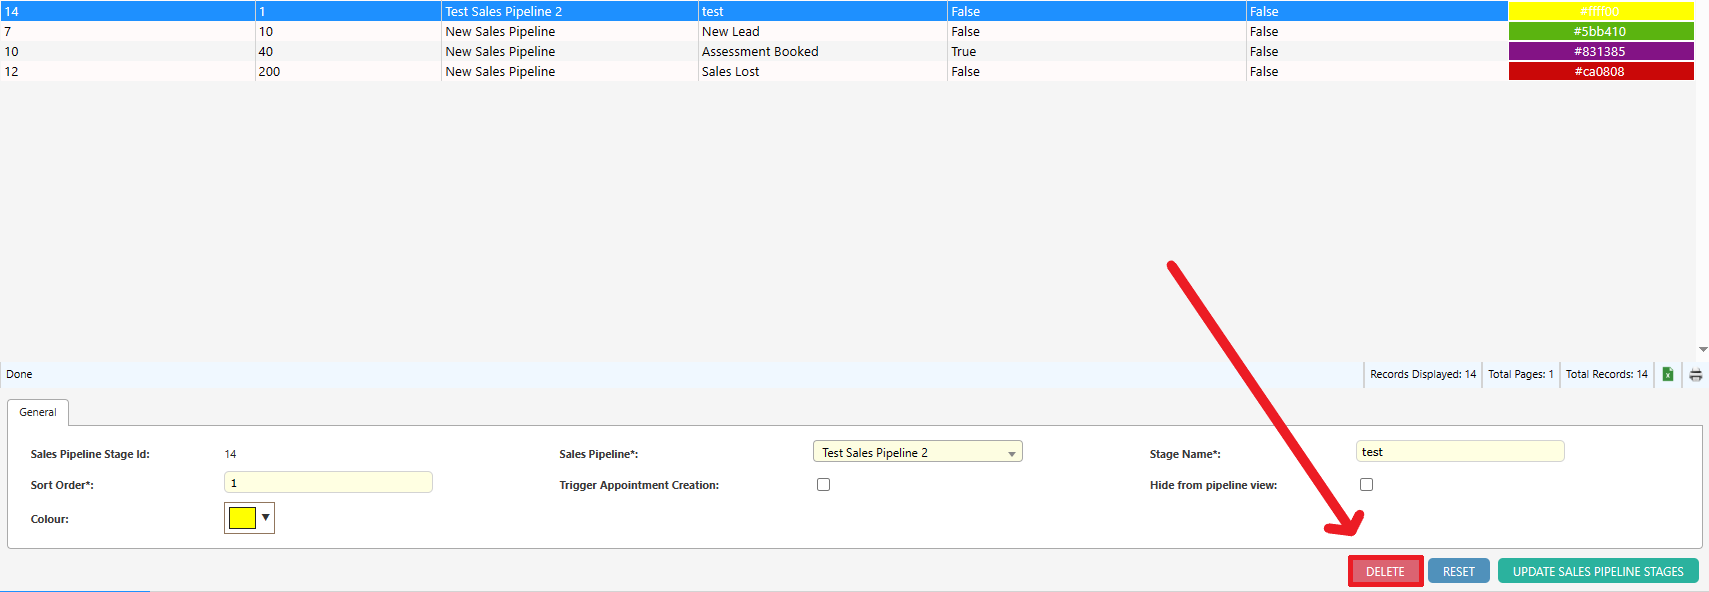
Deleting Sales Pipeline Stages
To delete a Sales Pipeline Stage
- Select a Stage from the row
- Select Delete in the bottom right corner of the screen