Learn how to add a new Client
Create a Client
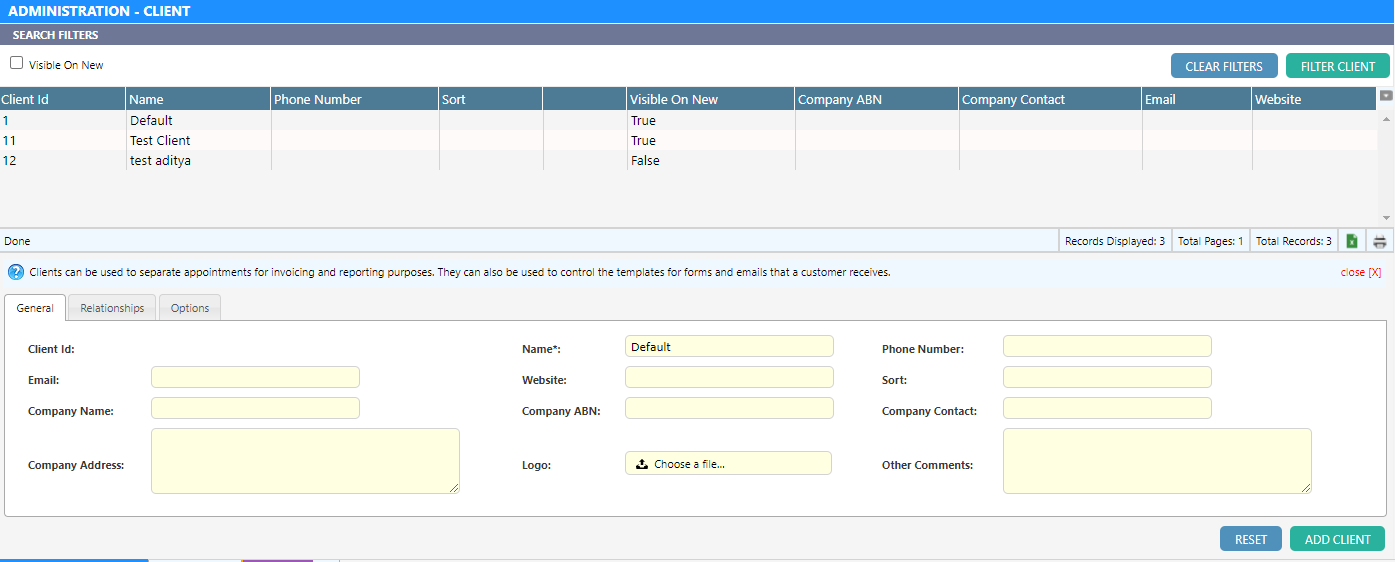
- At the bottom of the page, the following details needs to be filled out in order to add a new client

- Fill in all the necessary fields
Note: Client Name is the only required field to be completed in order to add a client.
The following subheadings ask for different details, and these details are:
- General is client details, such as email, phone number etc. This is useful to save the details about the client, keeping everything in one central location.
- Relationships consists of three important settings.
- Agents: Specify which agents will be allowed to link jobs to this client. In the case a specific agent is only allowed to assign jobs to this agent, they should specify it here.
- Products: Functions similarly to agents by restricting which products can be used in appointments that have been linked to the client.
- Forms: Specify which forms can be linked to the client.
- Options are features that affect how the clients are interacted with the users of ASAP.
- Skip Audit will disable auditing for appointments which are linked to the client if checked.
- Visible On New will show the client in the drop down client list when creating new jobs. This should be selected if ou require the job to be
- Once completed, select ADD CLIENT to finalize the details.
