Overview
From this screen, an operator can send promotional SMS messages for appointments.
Before Starting a campaign
Before a campaign can be started, the following configuration steps need to be completed:
Create a Campaign using the Campaign editor. Please pay attention to the duplicate setting. If it is not acceptable for the recipient to receive the same promotional message in subsequent campaigns of the same type, then turn the flag off.
Duplicate Types:
-
Messages of the same type that have been sent in a previous run of this campaign. These duplicates will not show up in search results if the prevent duplicate flag on the campaign is turned on.
-
Duplicates within the same campaign. These duplicates can appear if a customer is shared across multiple appointments within the same campaign. This will cause the customer to receive 1 message for each of these appointments. To help the operator find these duplicates, there is a column titled Duplicate Count. If the mobile number is repeated it counts the number of repeats. A value in this column greater than zero indicates that the customer’s mobile number is duplicated within the campaign.
After a campaign has been created, a new SMS Message Type must be created. This can be done in the SMS Type editor. For promotional campaigns, the classification field should be set to the value of Promotional and the Opt-Out option must be selected.
To Start a campaign
Before starting, all appointments that are to be included in the SMS campaign should be tagged with an appointment tag. This can be done in the following ways:
- Use the add tag bulk action in the advanced search tool.
- Use the tag import. This allows you to upload a CSV file with a list of appointments and a tag reference.
- Tag appointments individually via the appointment tags action within an appointment.
After a set of appointments have been tagged, the SMS campaign can be started using the following steps:
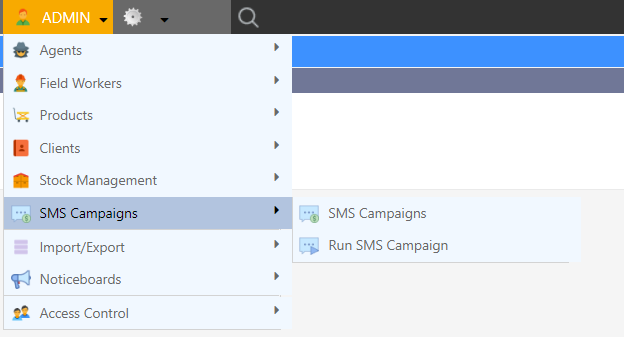
- Open AdminPromotional SMS Campaigns.
- Select the campaign type.
- Select the SMS message type.
- Select the appointment tag. (This is the appointment tag used to mark the appointments to be included in the campaign)
- Click the Search button.
This will load a list of appointments for review.
How do filters select appointments? appointments are selected using the following rules:
- The appointments with the selected tag, e.g an operator has tagged all appointments completed in last 3 months.
- Filter the above using the rules of SMS type, e.g if the SMS is configured for businesses customers only then residential customers will be removed.
- If the prevent duplicate flag is enabled on the campaign, then appointments that have been sent messages in previous runs are removed.
Do a Dry run before starting
If the operator is happy with the appointments shown in the results grid then they can start a dry run by clicking Start Dry Run as shown below.
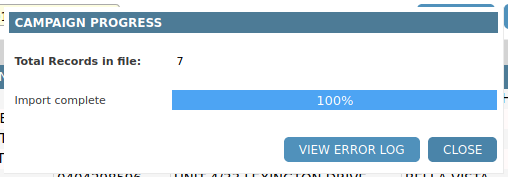
After the dry run is finished, click the close button.
The following additional columns in the results grid will be shown.
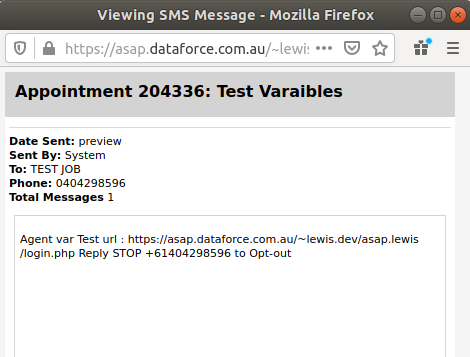
This information can be used to estimate the cost of the campaign. Preview the content of the messages and verify the number of messages. An operator can preview a completed message after the dry un by doing the following:
- Do a dry run.
- Select the appointment in the grid
- Open the context menu by right clicking the mouse on the appointment record.
- Select Preview Message.
Start sending messages
If you are happy with the results of the dry run, then click Start Campaign.
Wait for the process to finish and click the close button on the dialog to finish.


