Sending Emails and Checking for Emails Sent
Overview
The Job Emails tab allows an operator to:
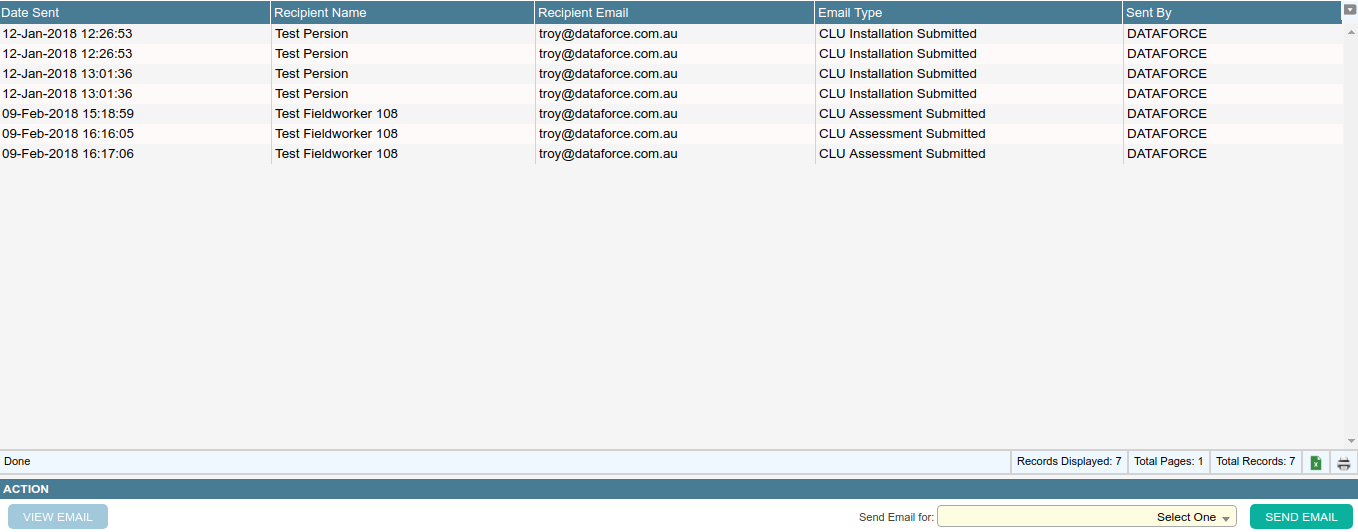
- View a log of emails sent by classification
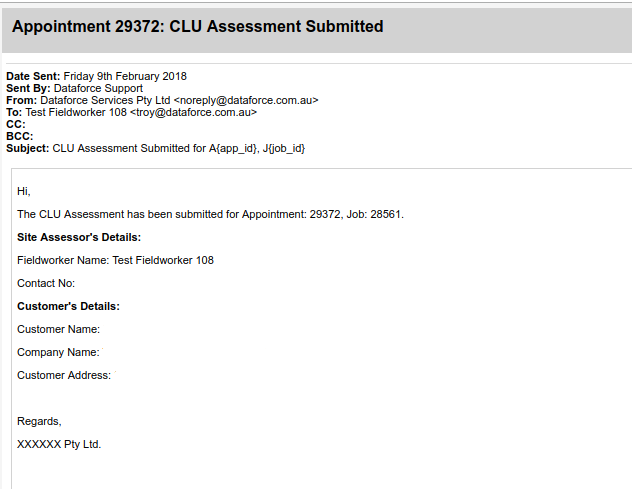
- View a sent Email’s content text and download generated forms attached.
- Send a new Email for appointments.
View Email Sent Log
| Field | Description |
|---|---|
| Date Sent | Date and time the Email was dispatched to recipient. |
| Recipient Name | Name used in the form field of the Email, typically customer or field worker name. |
| Recipient Email | Email address used in the form field. |
| Email Type | The Email type sent. |
| Send By | User who initiated the email, if Dataforce initated the email, then a system event like a Dataforce Runabout sync was processed. |
View Email Text
- Click the Email you would like to review from the data-grid.
- Navigate to the bottom left of the screen and click the View Email button.
- A new window will open with the Email. Please select this window.
- View an attachment, click the forms icons or file name to begin downloading. If none are listed, then there are no attachments. At the current time, product brochures can not be downloaded from this screen, only generated PDF forms.
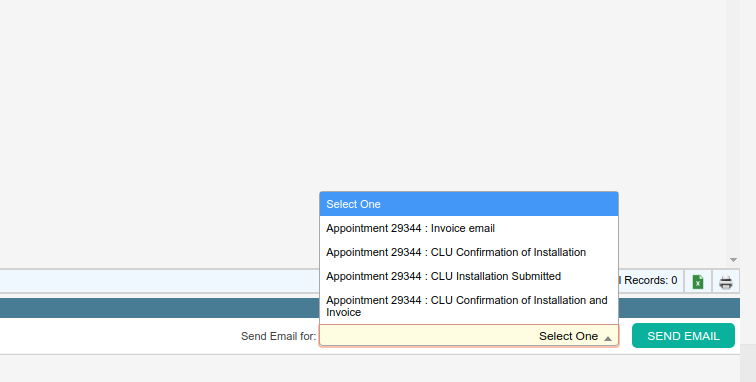
Send Email
- Navigate to the bottom right of the screen.
- Click the dropdown titled Send Email For to select the Email type to be sent.
- Click the Send Email button to finish.

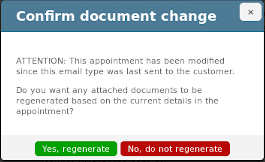
- If the Email has an archived form, an operator may choose to ignore the archive and send fresh copies of all forms.
If the Email type is not listed, then the Email type is not eligible for any appointments in this job. The eligibility criteria are configured in the Admin > Basic > Email Types configuration screen.


