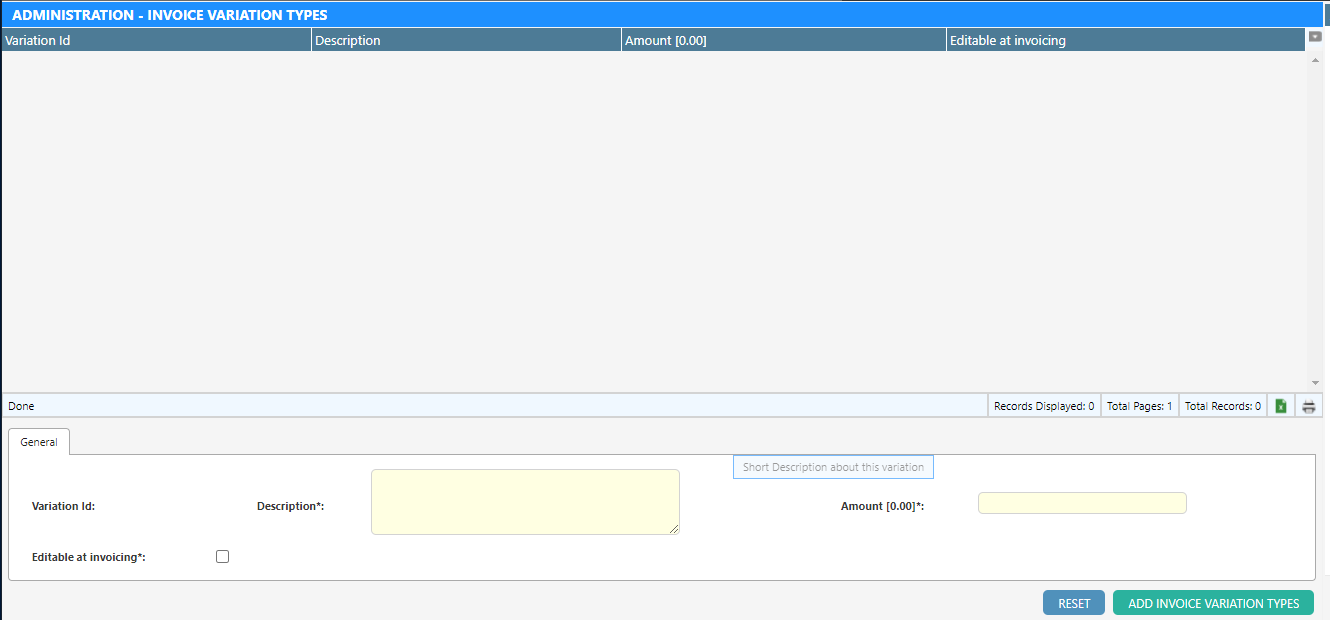
Variations allow an operator to create debit and credits for the next contractor invoice.
If a previous invoice paid for an installation of products and later found that the work was done improperly, an operator can use a variation to create a credit and reduce the next RCTI total.
An operator will create the line item before the next invoice is to be issued. When the invoice is finalized, the variations become locked to that invoice. If the invoice is reversed, the variation gets unlocked and will appear in the next invoice finalized.
If variations are picked up in the next invoice, they cannot be scheduled ahead of the next invoice run.
Create a Variation
- Navigate to Tasks > Invoices > Invoice Variations.
- Select a field worker from the dropdown.
- Enter the appointment number that the product originated from.
- Select Variation Type.
- Enter a rate in the format ##.##
- Enter the quantity.
- Click the Add Variation button on the bottom right of the screen.
Dataforce ASAP will verify the field worker that was the assigned to the given appointment. If not, Dataforce ASAP will not save the variation. The variation will appear in the next invoice regardless of the appointments’ inclusion in said invoice, however the description shown includes the appointment.
Update a Variation
A variation can be updated before its inclusion in an invoice. To change after requires the invoice to be reversed first.
- Navigate to Tasks > Invoices > Invoice Variations.
- From the filter, choose the field worker and click the search button.
- Select the variation from the data-grid and click with the mouse.
- Change the details in the form under the grid.
- Click the Update Variation button on the bottom right of the screen.
Delete a Variation
A variation can be deleted before its inclusion in an invoice. To change after requires the invoice to be reversed first.
- Navigate to Tasks > Invoices > Invoice Variations.
- From the filter, choose the field worker and click the search button.
- Select the variation from the data-grid and click with the mouse.
- Click the Delete button on the bottom right of the screen.
