Overview
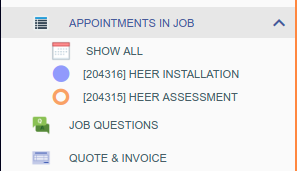
The job navigation menu provides a quick way to open the appointments of a job.
- Clicking the appointment link with the mouse will open its summary screen.
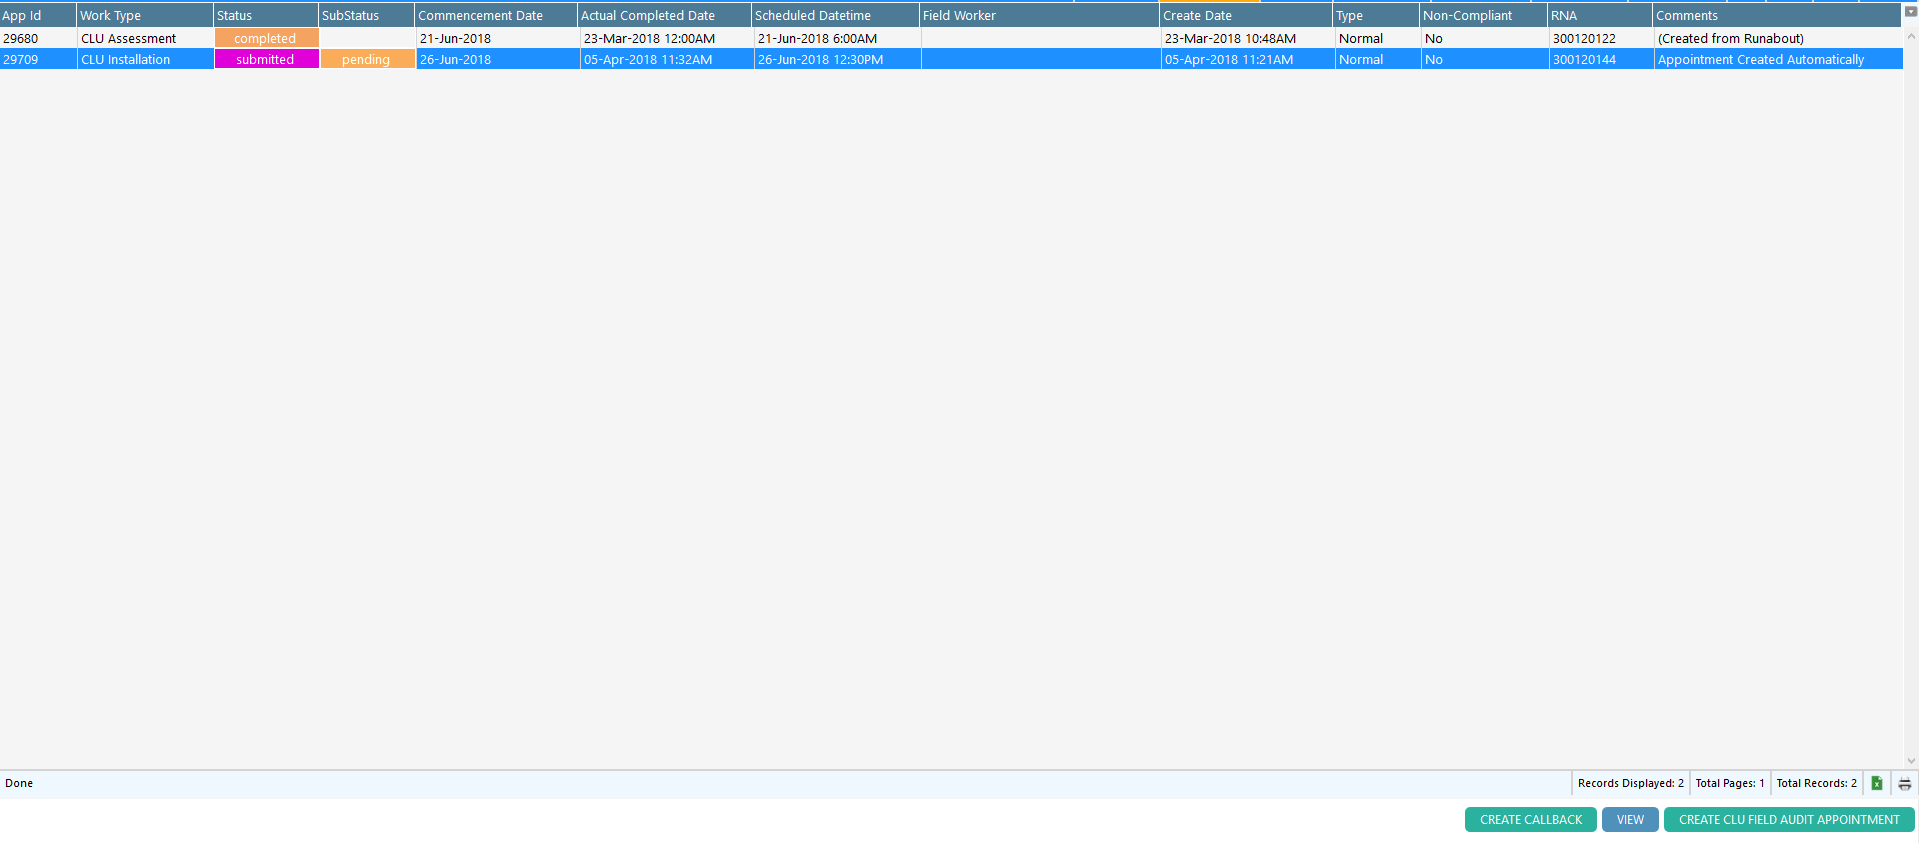
- Clicking the Show All link will open the Job Appointment screen as shown in the screenshot below:
This screen provides a list of all appointments belonging to the job; to select an appointment, either double click the row or use the View button at the bottom right. Follow-up appointments can also be created from this screen (see below for more detail).
Creating Followup Appointments.
A follow-up appointment can either be:
- A new work type e.g. an installation follows after an assessment.
- An existing work type, if the prior appointment was completed as a customer no show.
- Callback of an existing, completed appointment.
A. To create a callback appointment, select the appointment that requires the callback and click the Create Callback option.
B. If other work type buttons are available, clicking them will create the appointment.
After the button is clicked, Dataforce ASAP will prompt you to schedule the newly created appointment through the smart scheduler. If the appointment is not to be scheduled, you can select Add to Waiting List.
FAQ
Q: Why is there no button for the work type I want to schedule?
A: Work types can be configured with a few requirements which must be satisfied, including:
- Parent appointment must be completed first.
- Quote must be accepted first.
- Customer must be of the required type e.g business only activity is not allowed when customer is residential.
- Restricted to limited set of agents.
- Requires a question to be answered in the desktop quote question for parent appointment.
If a work type is a child of another, e.g. install follows and assessment, it cannot be created prior to the parent or on its own.


